Edible garden
Drip irrigation for raised beds: kits, layout, and timers
By Lawn & Loam Editorial DeskPublished 2026-08-275 min read
Drip irrigation puts water exactly where roots grow, keeps foliage dry, and removes the guesswork of hand watering. The page covers what a kit contains, how to lay lines across raised beds, and how timers and pressure shape the system. It is a how-to framework, not a product review.
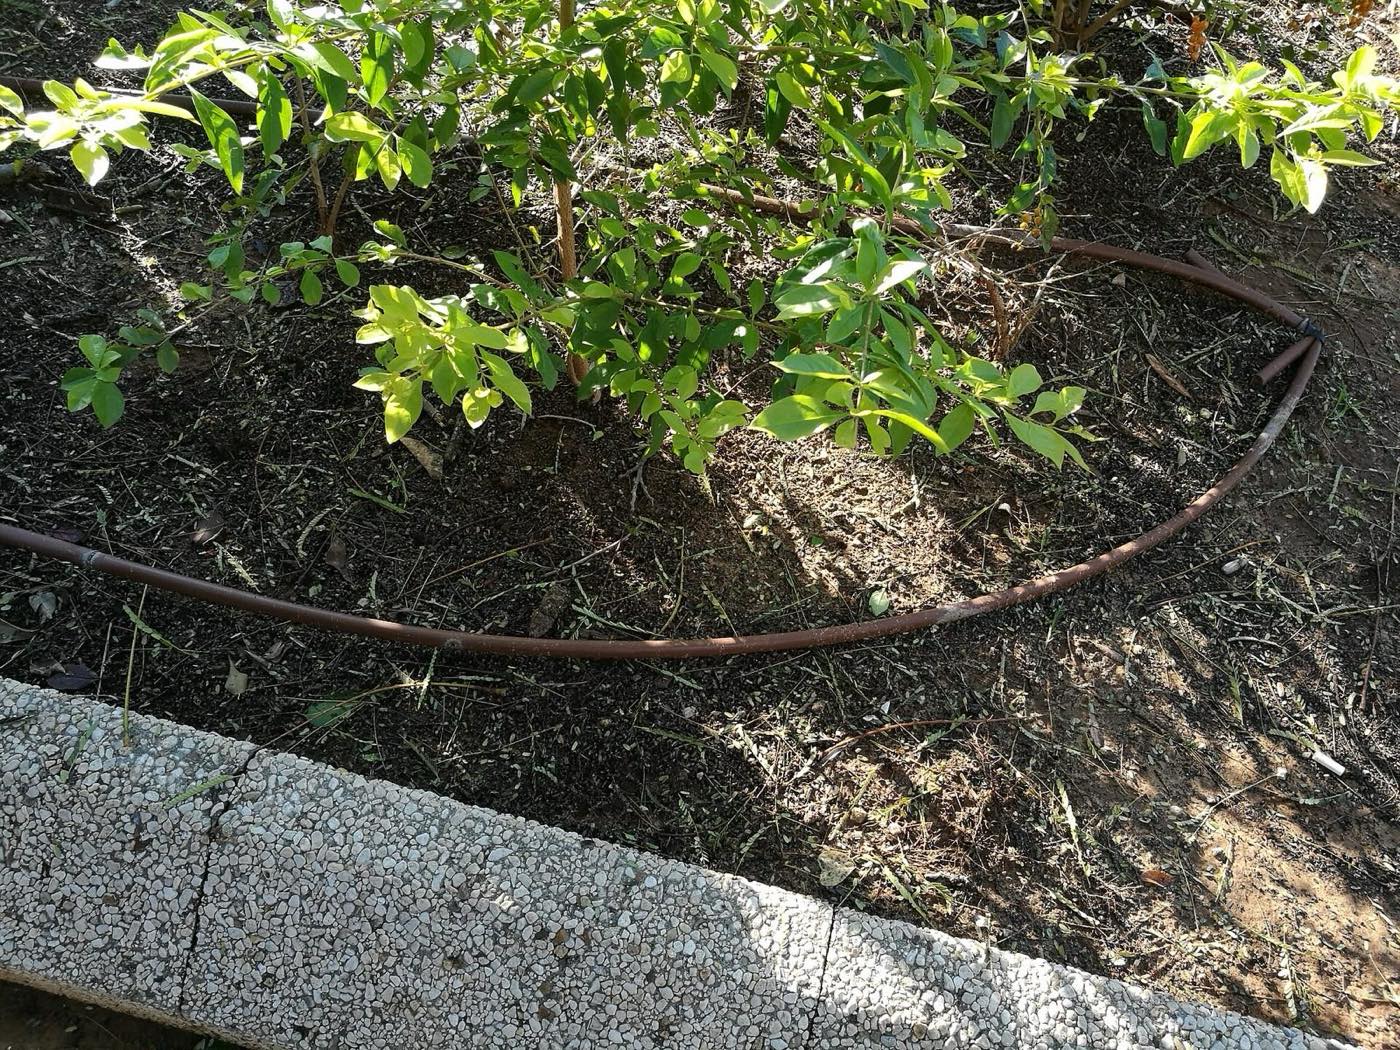
Image source: File:טפטפה בגינת רחוב ברעננה.jpg · CC via Wikimedia Commons
Why drip beats a hose end
University of Maryland Extension reports drip is very efficient compared with overhead watering because about 90 to 95 percent of the water ends up in the soil. Wetting the root zone directly also keeps walkways dry and keeps foliage dry, which reduces disease pressure.
A drip system can run off a simple mechanical or battery timer, so beds keep getting water while you are away. Municipal water works, but extension guidance calls for a backflow prevention device to protect the supply.
- Drip delivers most of the water to the root zone.
- Dry foliage means fewer disease problems.
- A timer keeps watering consistent when you are busy.
Anatomy of a kit
Most starter kits share the same parts: a filter with a removable strainer, a pressure regulator, a header line run along the top of each bed, and drip lines or drip tape whose emitters deliver water to the soil. Some kits include a timer; others expect you to add one.
Drip operates on low water pressure - roughly 8 to 10 psi per UMD - so do not skip the regulator even on a standard spigot. Clean the filter strainer regularly, because debris is the most common cause of clogged emitters.
- Kit parts: filter, pressure regulator, header, and drip lines.
- Emitters or drip tape deliver a measured amount of water.
- A timer is optional but worth it for consistency.
Lay the lines out for your bed
Run the header along the top of each bed, then lay drip lines lengthwise or across to match your rows. For wide beds, UMD suggests spacing drip lines 18 to 24 inches apart, and closer - 9 to 12 inches - in sandy soils that drain quickly.
Leave lines on the surface and cover them with mulch, or bury them shallowly; either way, keep them out of direct sun when you can. Drip tape can be reused for several seasons if you drain and store it indoors, away from rodents that like to chew on the tubing.
- Space drip lines 18 to 24 inches apart on most soils.
- Space them closer in sandy soil that drains fast.
- Cover lines with mulch, or bury them shallowly.
- Store tape indoors over winter, away from rodents.
Set the timer, then watch the soil
Run times depend on soil, crop, and spacing. UMD notes a system may take anywhere from a couple of hours to a full day to wet the root zone; drip tape typically delivers about half a gallon per minute per 100 feet.
Start with a run time that leaves soil moist 6 to 8 inches down a few hours after watering, then adjust with the weather and as plants grow. Check emitters monthly, flush lines at the start of each season, and follow local watering rules during drought restrictions.
- Start short; dig down and feel the soil before changing settings.
- Adjust run time as temperatures and plant size change.
- Drain and store lines before winter in freezing climates.
Sources
Sources used for this page
Keep planning
Related guides
Raised garden beds: sizing, materials, and where to put them
How to choose raised garden bed size, depth, materials, and location, plus how raised beds compare with growing crops in the ground.
Edible gardenRaised bed soil: the right mix and how much you need
Why garden soil, potting mix, and raised bed mix are different, and how to estimate how much soil your new raised beds need.
Edible gardenYour first vegetable garden: easy crops and a simple layout
Pick beginner-friendly vegetables, sketch a simple garden layout, and avoid the mistakes that sink most first-year vegetable plots.